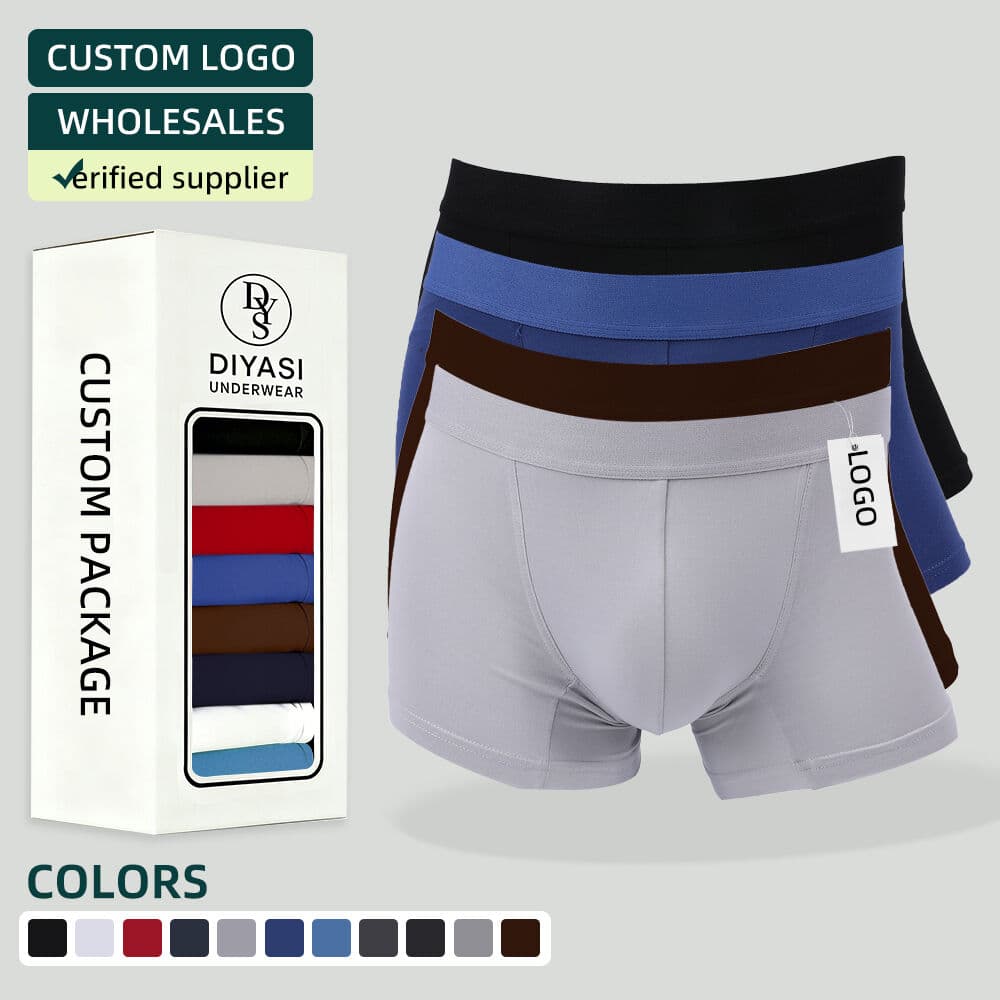
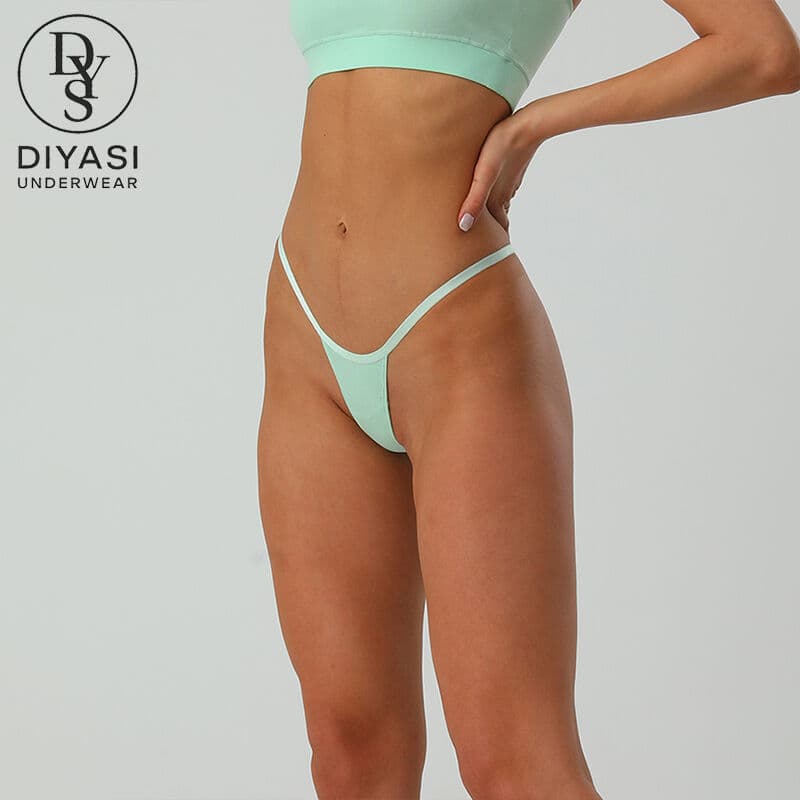
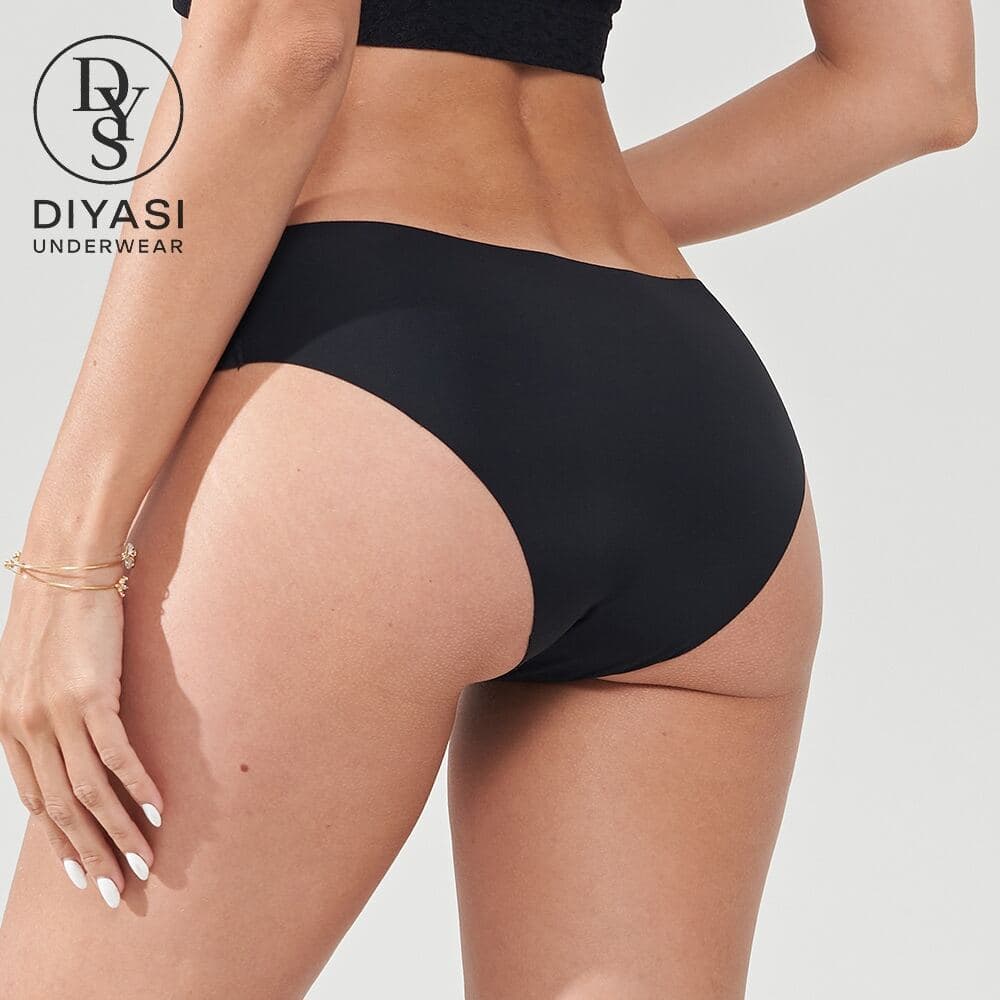
An underwear product-photo brief should show the garment's shape, back coverage, inside construction and important details using the approved sample. Connect every image to a model, size, colour and version so product pages describe the item a buyer will receive. Front-only photography is often insufficient for underwear because the back and lining distinguish many styles. Plan the evidence shots first, then add styling images for the brand's presentation.
Start with a product-specific shot list
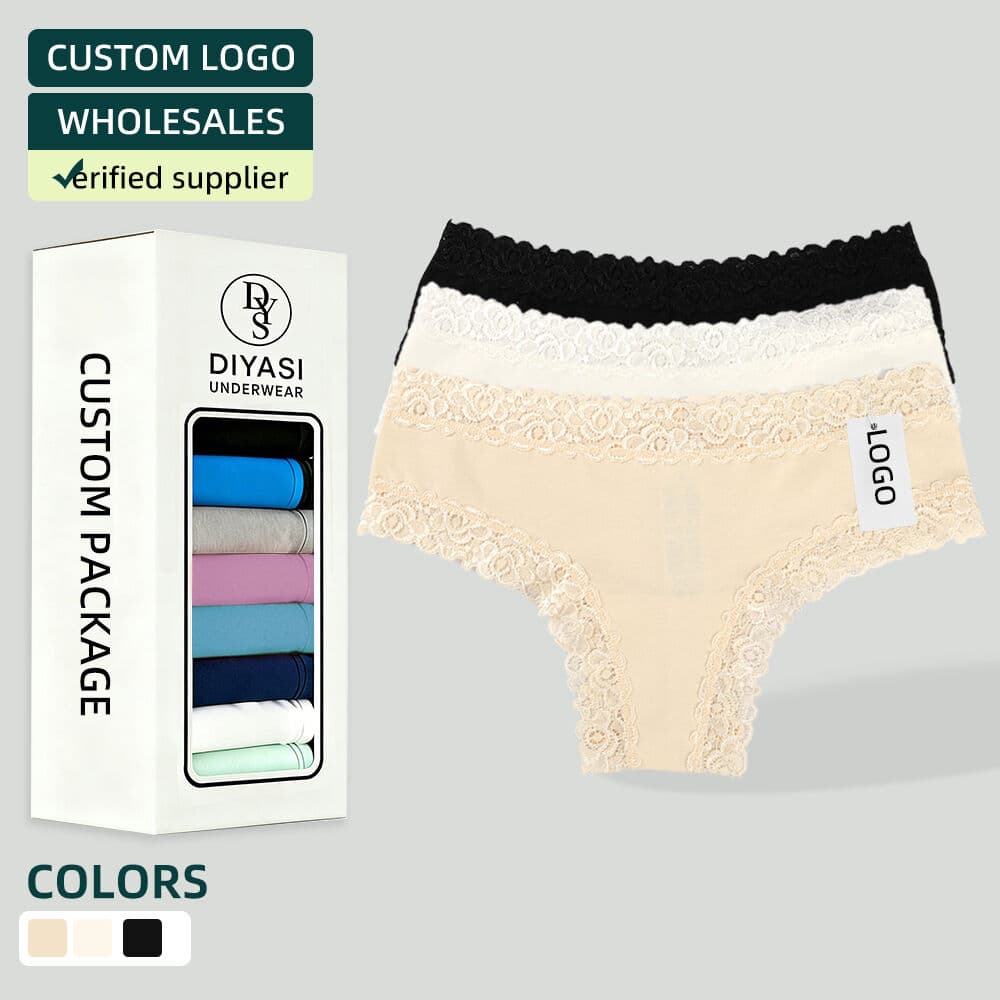
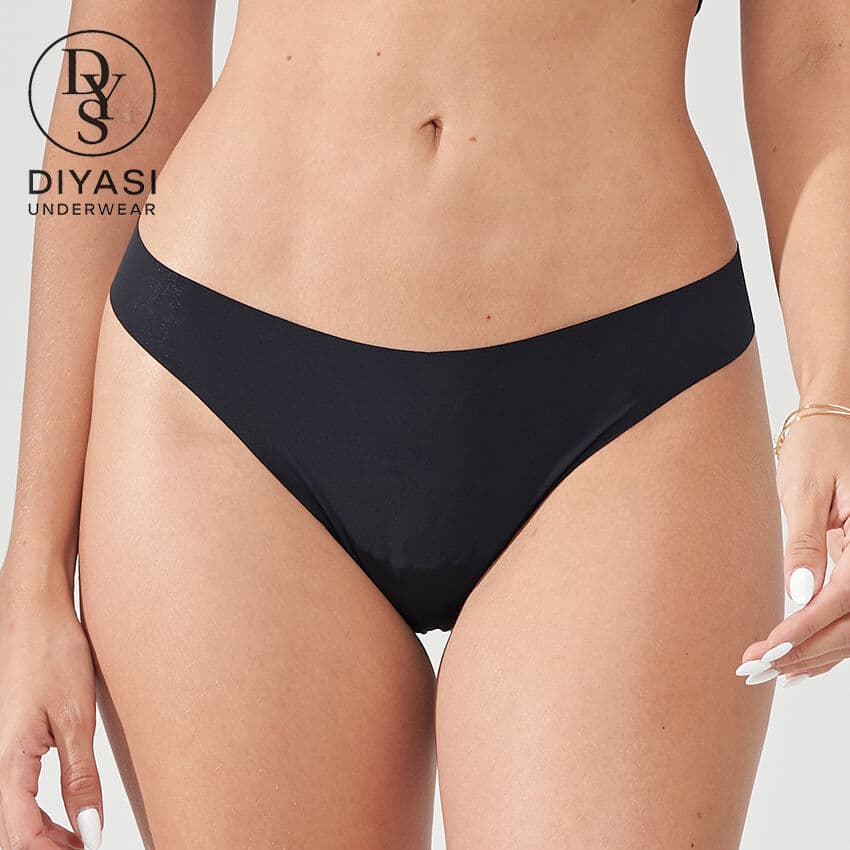
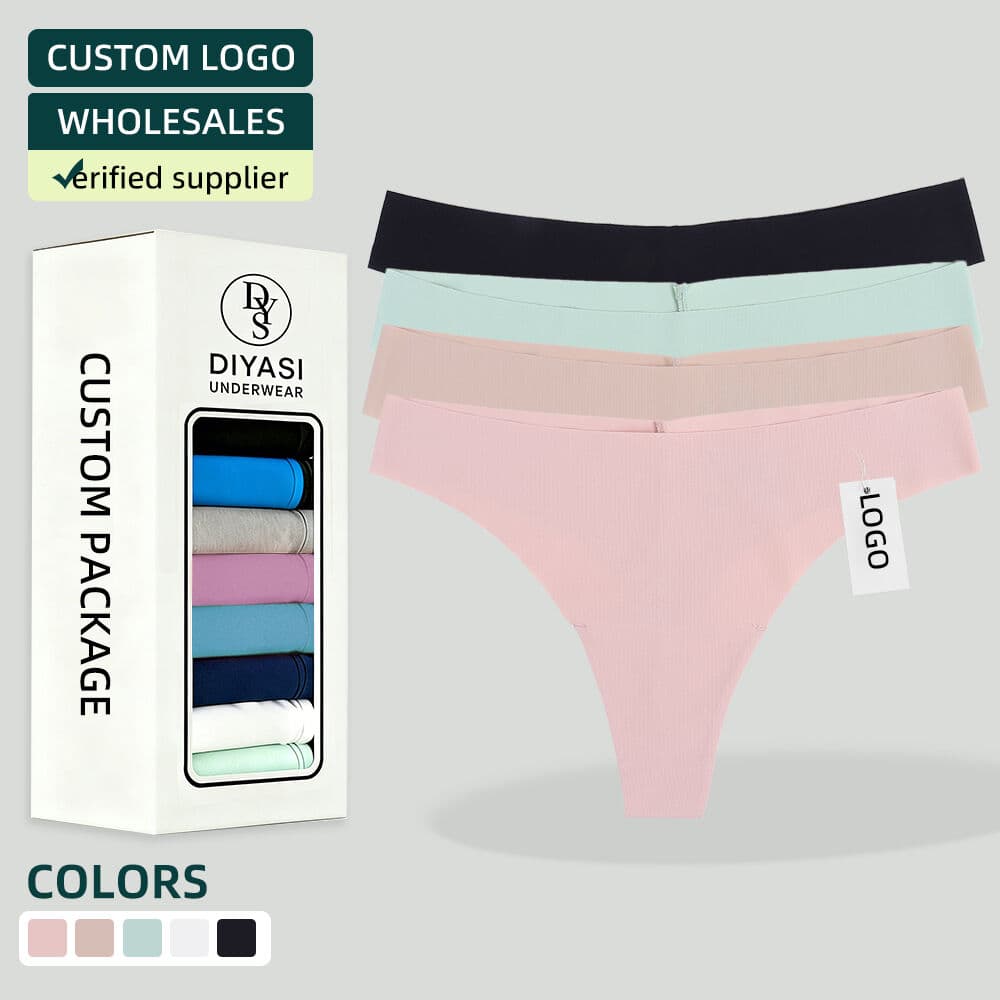
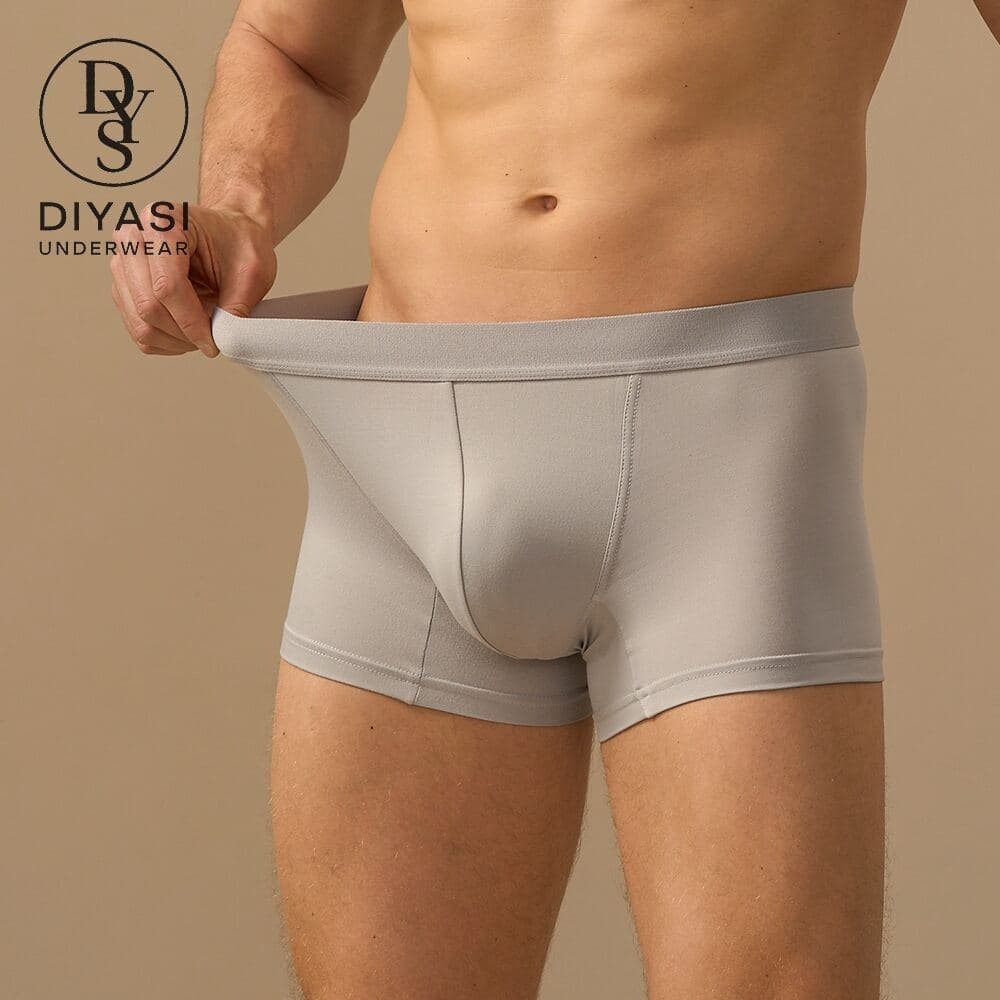
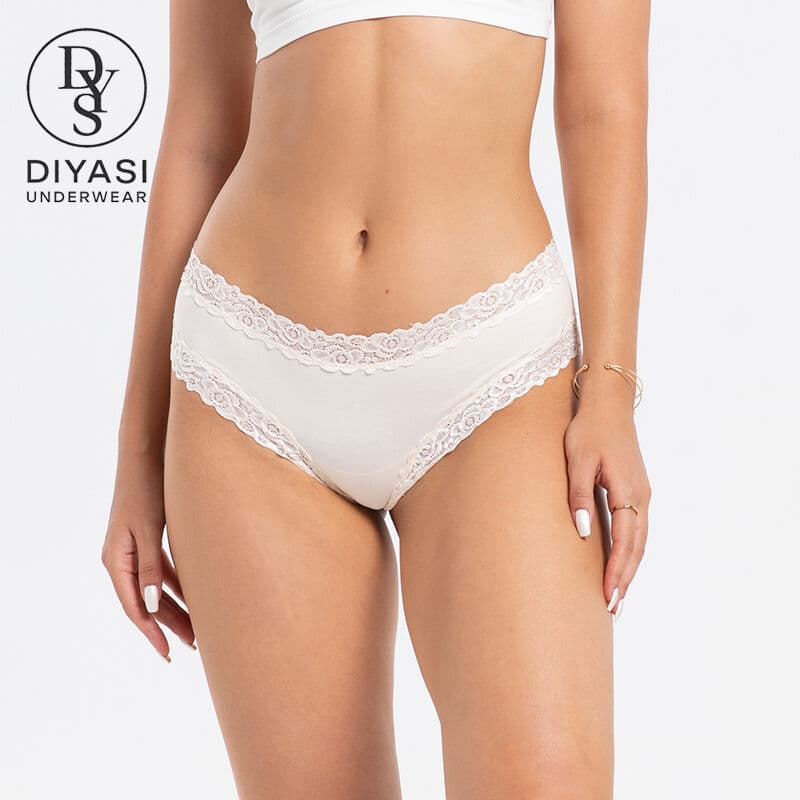
LS006 needs views that explain its lace waistband, leg trim and Brazilian back. DYS302 needs a clear view of its thong shape and stitched gusset. M004 benefits from a view of the men's trunk silhouette, waistband and inside pouch. The best detail list follows the garment rather than a fixed number of decorative images.
Decide which photographs will support the product listing, wholesale line sheet and sample discussion. A styled hero can introduce the collection, while consistent front and back views let buyers compare models more easily. Keep the two uses clear in the brief.
| View | What it should show | Quality check |
|---|---|---|
| Front | Waist outline, front coverage and main details | Whole garment and intended logo area visible |
| Back | Rear coverage, seams and leg shape | Angle and scale comparable with other styles |
| Inside | Gusset or pouch lining and attachment | Actual construction visible without misleading retouching |
| Detail | Lace, edge finish, waistband or branding | Focus and lighting reveal the relevant feature |
| Colour or pack view | The approved variant or exact set contents | Image matches the named SKU or pack |
Photograph the sample version that the listing describes
Record the model, photographed size, colour and sample approval status before the shoot. If a prototype uses temporary trims or a substitute fabric, keep its images separate from the final product assets. Otherwise an early development photograph can remain on a live page after the garment changes.
Use consistent angles, lighting and framing for comparable catalogue views. Include enough margin to prevent logos or garment edges from being cut off in cards and mobile layouts. Check the actual website crop as well as the original image file.
Keep colour and fit representation honest
Use a controlled colour workflow and compare the edited result with the physical reference. Screens and viewing conditions still vary, so photography should not replace physical colour approval for production. Avoid aggressive edits that conceal the texture or make one colourway appear to be a different material.
For worn views, choose a suitable sample size and record styling adjustments. Do not reshape the garment digitally to imply a different cut or erase seams that are present in the supplied product. A close-up can show a lining, but it cannot prove fibre percentages, certification or a tested performance claim.
Organise image rights, names and page use
Confirm permission for the intended use of supplier photographs, photographer work and model imagery. Keep original assets with the agreed usage record. If a photograph includes a supplier logo, agree any branding treatment and retain an accurate reference rather than cropping away useful construction details to hide it.
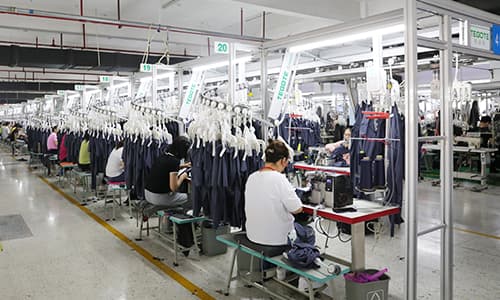
Name delivered files with the style, colour and view, and write alt text describing what the image actually shows. Keep generated concepts separate from evidence of real garments or factory work. Before publishing, verify that each gallery, thumbnail and social preview points to the correct product version.
Product-photography questions
Can one front image serve every related style? It should not stand in for different back shapes or construction. Show the exact model and identify any illustrative image clearly.
Do I need a new model shoot for every detail? Flat-lay and inside close-ups can explain many construction questions. Choose the format that makes the actual feature clear.
Can AI imagery replace the sample photos? It can support a clearly identified creative concept, but it should not be presented as proof of the finished product's appearance, fit or manufacturing process.
Put your research to work
Explore the original product galleries ↗Understand back-coverage differences ↗Approve the physical colour reference ↗Confirm the final sample version ↗Product sources
Product examples refer to the linked DIYASI source specifications. Confirm the final materials, measurements and availability for your selected sample.
LS006 original product specification ↗DYS302 original product specification ↗M004 original product specification ↗A starting point for your collection.
Share your selected model numbers, intended market and sample requirements with the DIYASI team.
Discuss your collection ↗